


.png)


Serves
up to 10 people
ingredients
60 g fresh or frozen pandan leaves (12–14 blades)
see Preparation tip
200 ml coconut milk
7 large eggs
300g caster sugar
¾ teaspoon cream of tartar
100ml sunflower oil
150g self-raising flour
¼ teaspoon fine sea salt
Preparation and Serving Tips
Pandan leaves are available, fresh or frozen, in Asian grocery stores. Pandan paste, extract and powder can also be found both in stores and online, but nothing beats the fresh leaves for me. They freeze well, too, so when you do come across them, buy an extra pack.
Most importantly, you will need a chiffon cake tin (measuring 22 cm at the base and 26 cm across the top) that is NOT non-stick. Plain aluminium is the best, as the cake cooks quickly and evenly. The tins are easy and cheap to buy online, and well worth the investment.
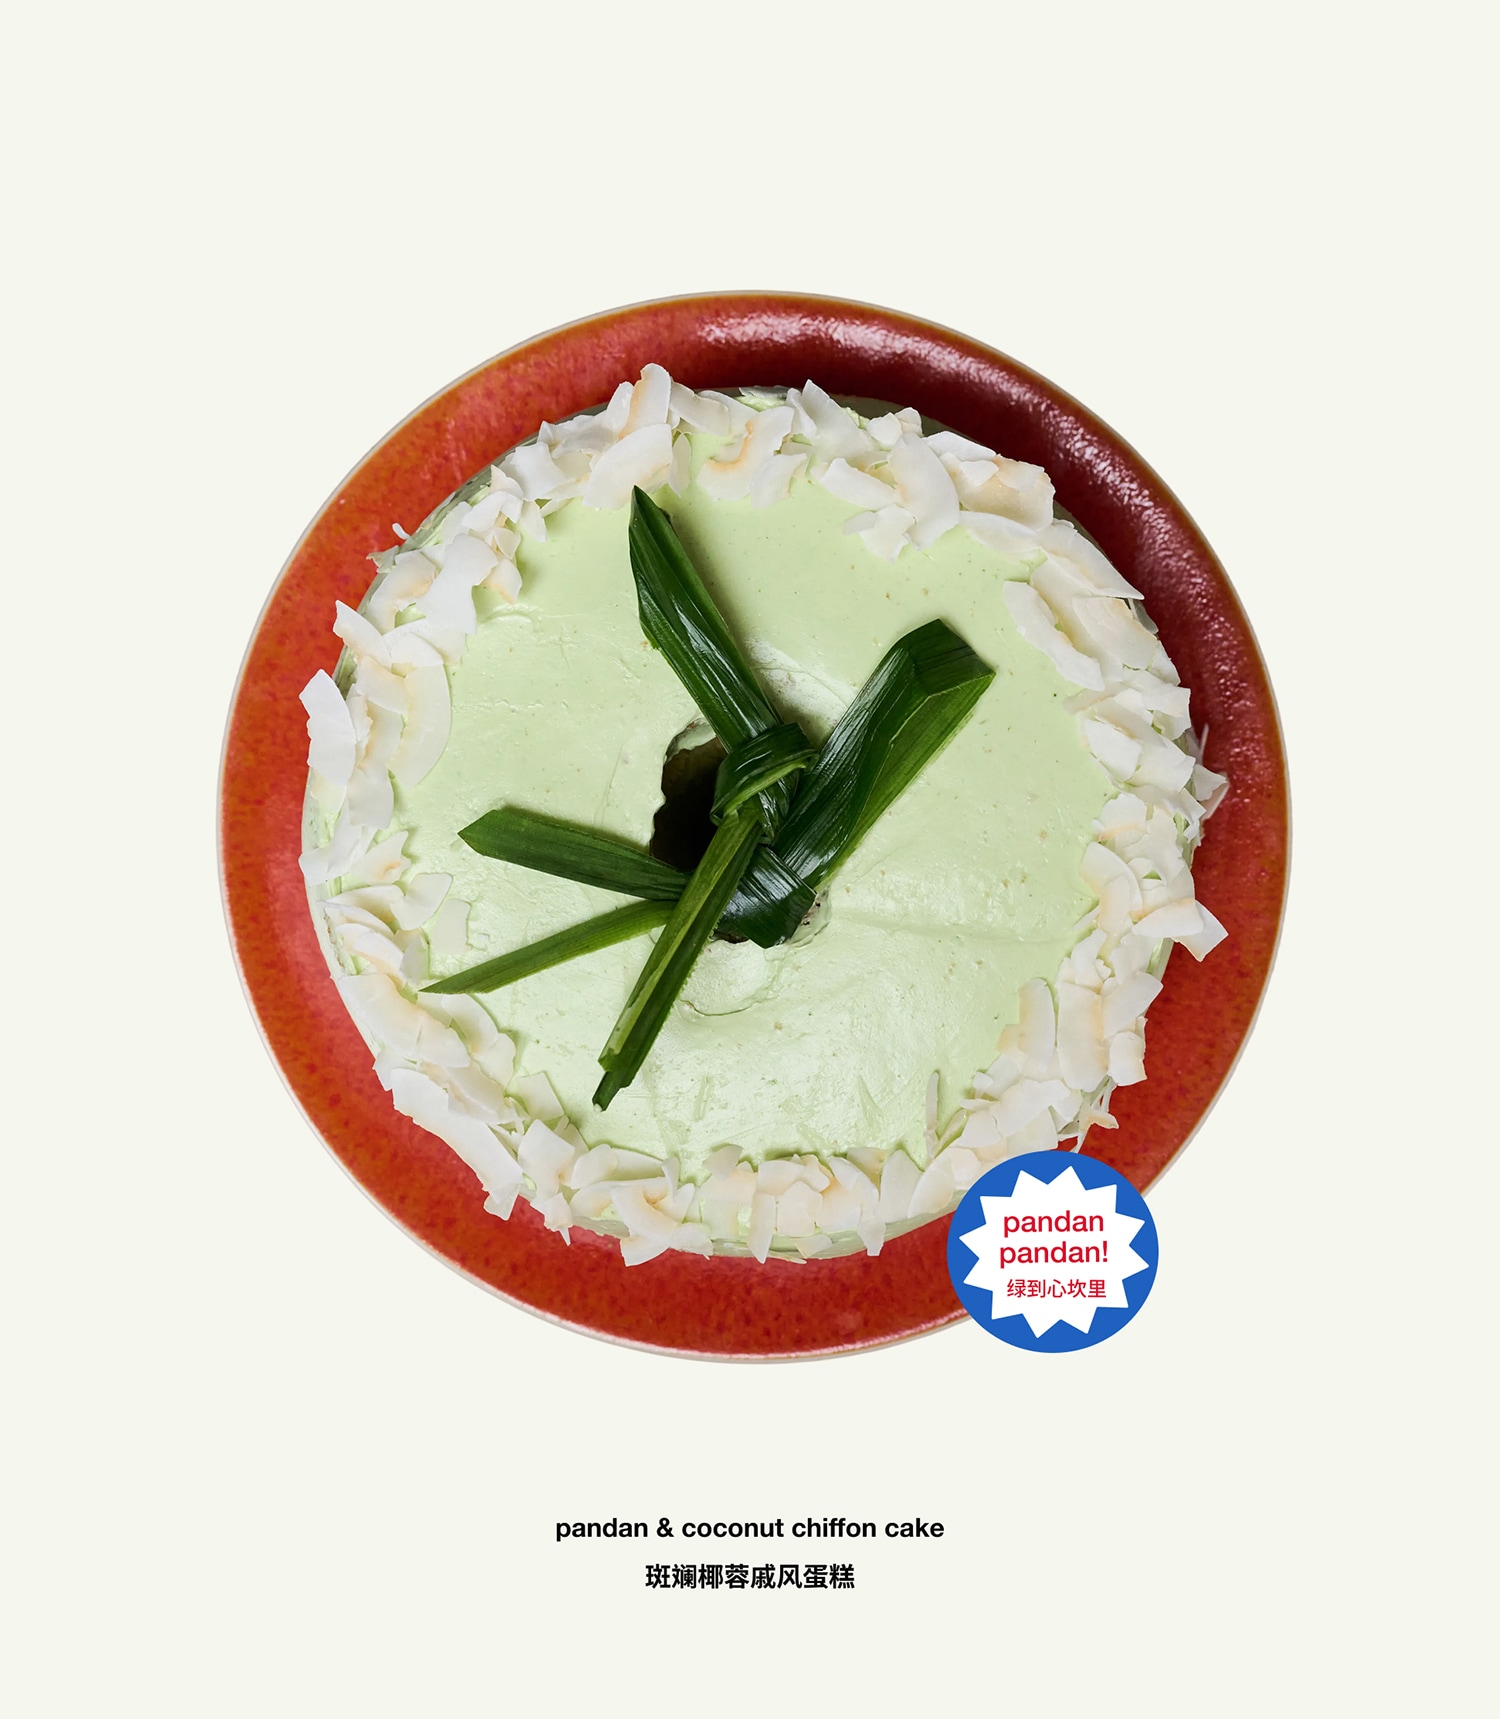
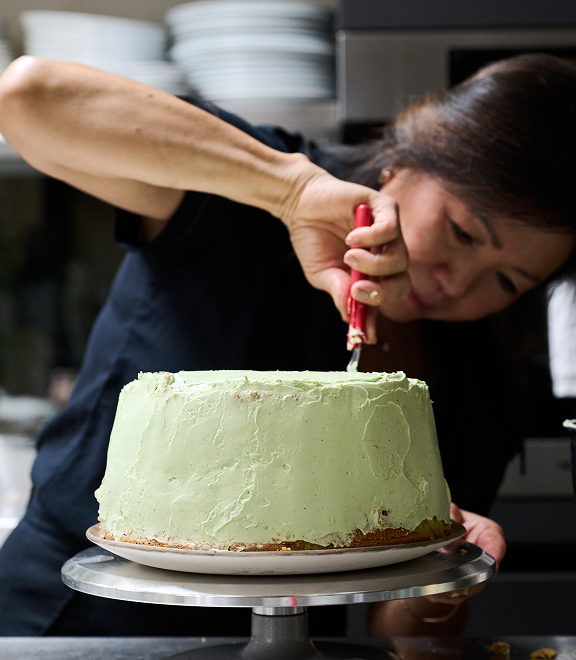
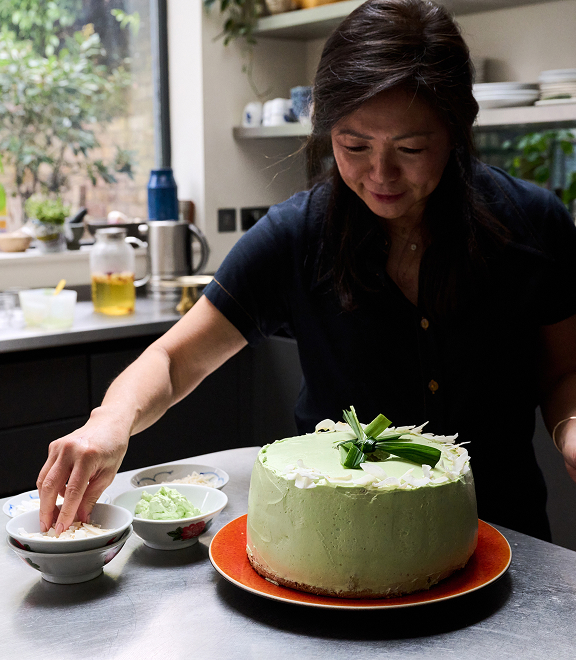
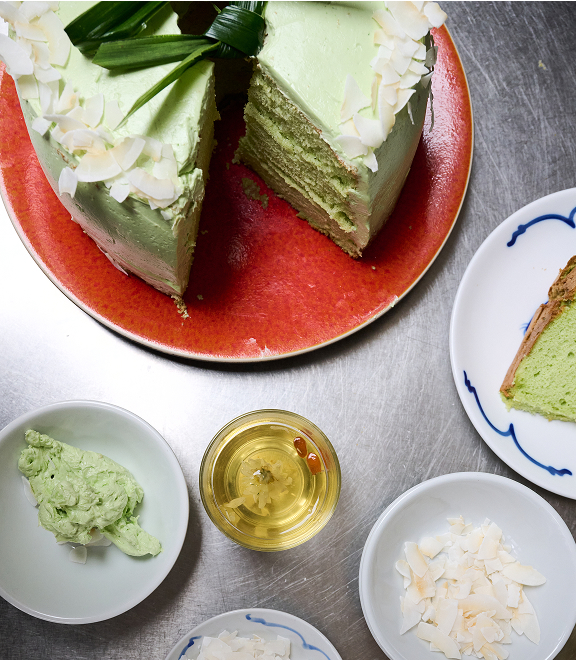
The cake is un-iced, letting its delicate flavour shine through. However, a dollop of coconut yoghurt is a delicious accompaniment.
The cake will last for up to 4 days, wrapped and kept in a cool place.
Method
step 1
Before you begin, have your chiffon tin ready (see Preparation tip). There is no need to grease it.
step 2
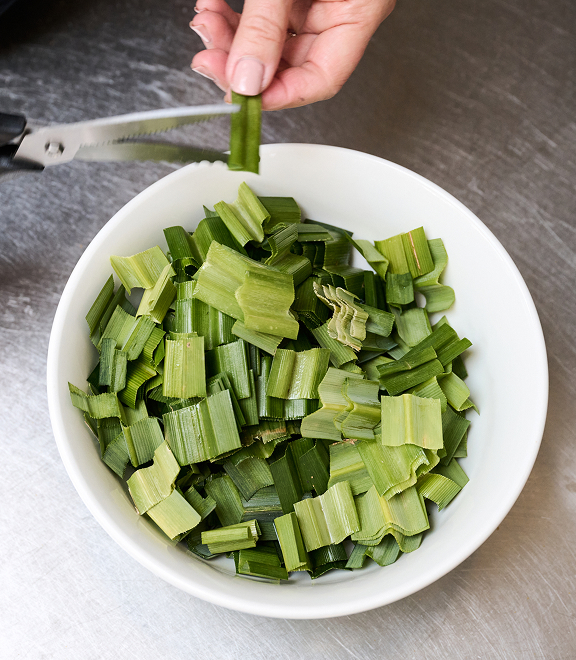
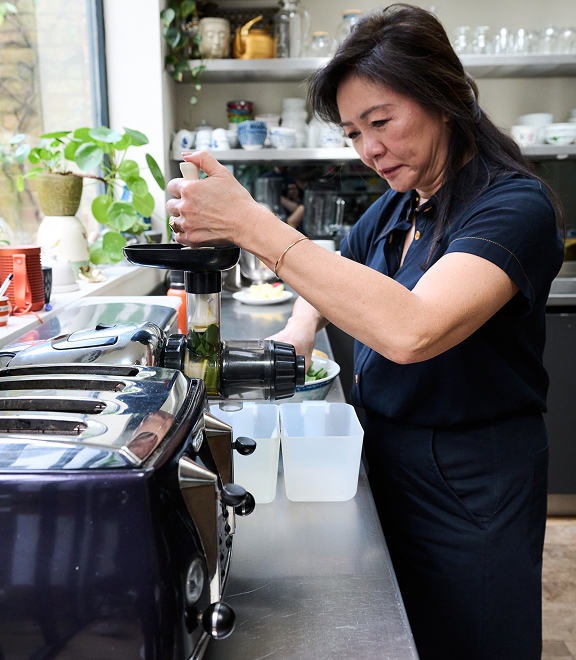
Snip the pandan leaves into roughly 2 cm pieces using kitchen scissors and place in the jug of a high-speed blender. Add the coconut milk and blitz to a coarse puree. Strain the pandan coconut milk through a fine-mesh sieve, pressing and squeezing the fibrous leaves to extract all the fragrant green milk – you should have 160 ml. Top up with more coconut milk if you don’t have quite enough. Set aside for the time being.
step 3
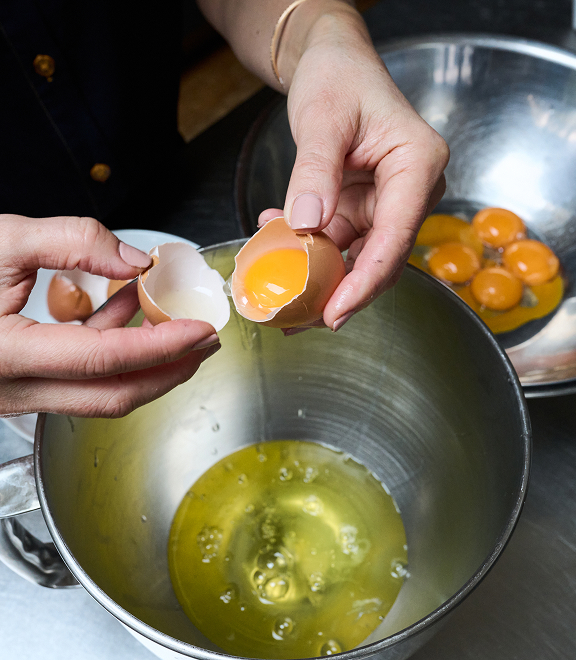
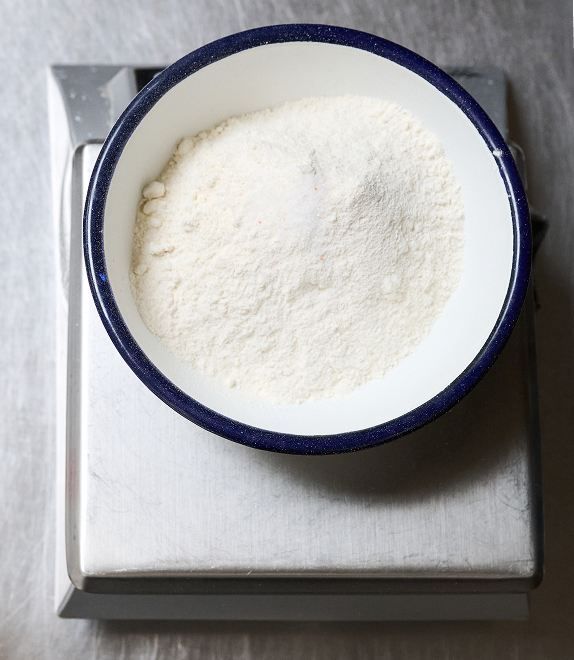
Separate the eggs, placing the yolks in a large, wide bowl and the whites into the bowl of an electric mixer. Set the bowl with the whites aside for now. Into the bowl with the yolks, add 150 g of the caster sugar and ¼ teaspoon of the cream of tartar. Whisk well using a hand-held whisk, then add the oil and the pandan coconut milk. Whisk well to combine, then sift the flour and salt directly into the bowl. Whisk together until the pale green batter is smooth. Set aside for now.
step 4
Preheat the oven to 165°C fan-forced and position the oven rack in the bottom third of the oven.
step 5
Attach the bowl with the egg whites to the electric mixer fitted with the whisk attachment and beat on high speed until they turn white and foamy. Add ½ teaspoon of the cream of tartar and keep whisking until soft peaks form. Drizzle the remaining 150 g of caster sugar in a little at a time, into the beating egg whites. When the sugar has been added, increase the speed a little and keep beating for about 2 minutes, until firm peaks form.
step 6
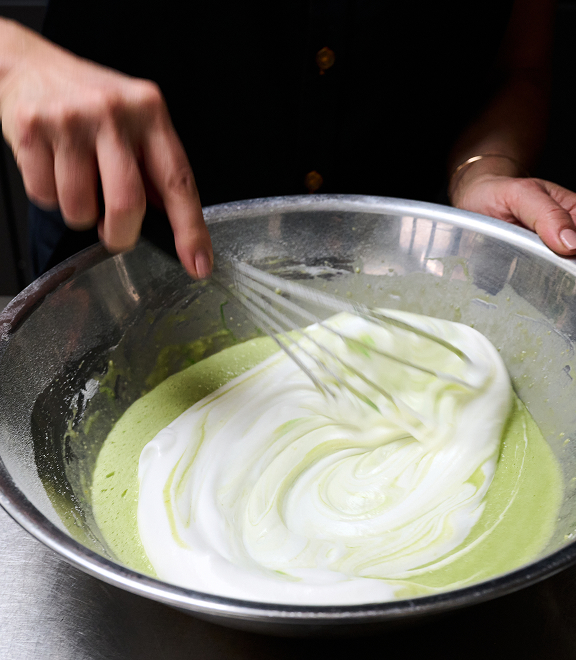
Scoop about one-third of the egg whites into the bowl with the yolk mixture and whisk to loosen and gently incorporate. Add another one-third of the egg whites and incorporate, using the whisk, then, before it is fully incorporated, switch the whisk for a silicone spatula. Fold gently but thoroughly (making sure to reach the bottom of the bowl) until the batter is a uniform pale green without any white streaks.
step 7
Holding the bowl over the ungreased chiffon tin, scrape the batter in – it should cascade nicely to fill the entire tin. Give the tin a quick rap on the bench to remove any large air bubbles. Bake for about 50 minutes, or until a cake skewer inserted into the centre of the cake comes out clean. Remove the cake from the oven and immediately invert the tin onto the kitchen bench. The removable base might slip down a little but don’t worry – the cake will stay suspended because the tin is not non-stick. Allow the cake to cool completely in this suspended position – this should take about 2 hours.
step 8
Once cool, this should look the right side up. Using a long metal spatula, loosen the cake from the base and sides of the tin, as well as the central tube. Invert the cake back onto a cake plate and slice thickly to serve.
join the discussion
-- reviews
%202.png)


.svg)
.svg)
Lorem ipsum dolor sit amet, consectetur adipiscing elit. Suspendisse varius enim in eros elementum tristique. Duis cursus, mi quis viverra ornare, eros dolor interdum nulla, ut commodo diam libero vitae erat. Aenean faucibus nibh et justo cursus id rutrum lorem imperdiet. Nunc ut sem vitae risus tristique posuere.